


In this article, we will go through the different CSS Selectors and how these selectors help us target and style the contents of our document. Let's get started.
CSS Stands for Cascading Style Sheets. It is a stylesheet language used to describe a presentation of a document written in HTML. A CSS Selector selects the HTML element you want to style.
Universal Selector
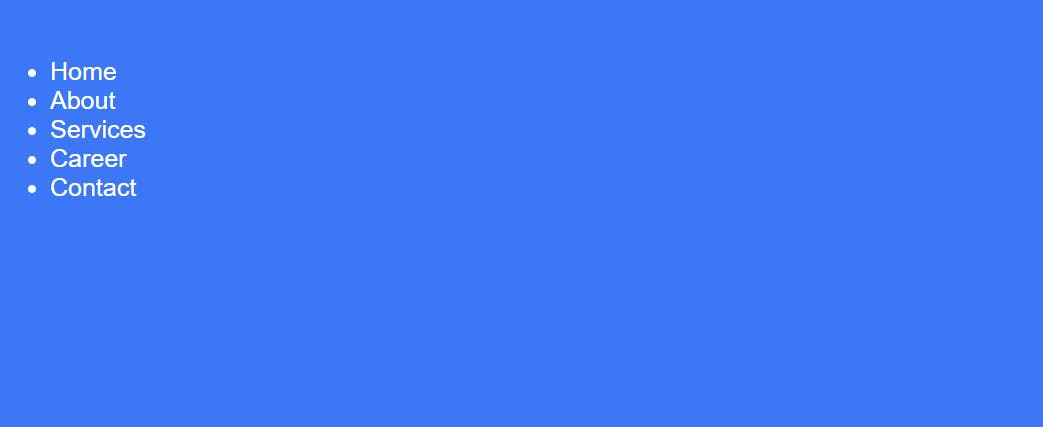
The universal selector selects all the HTML elements on the page. The * matches elements of any types
Syntax:
* { style properties }
CSS
    * {
        margin: 0;
        background-color: #3c77f5;
        color: #fff;
      }
HTML
 <body>
    <ul>
      <li>Home</li>
      <li>About</li>
      <li>Services</li>
      <li>Career</li>
      <li>Contact</li>
    </ul>
  </body>
Output
Individual Selector
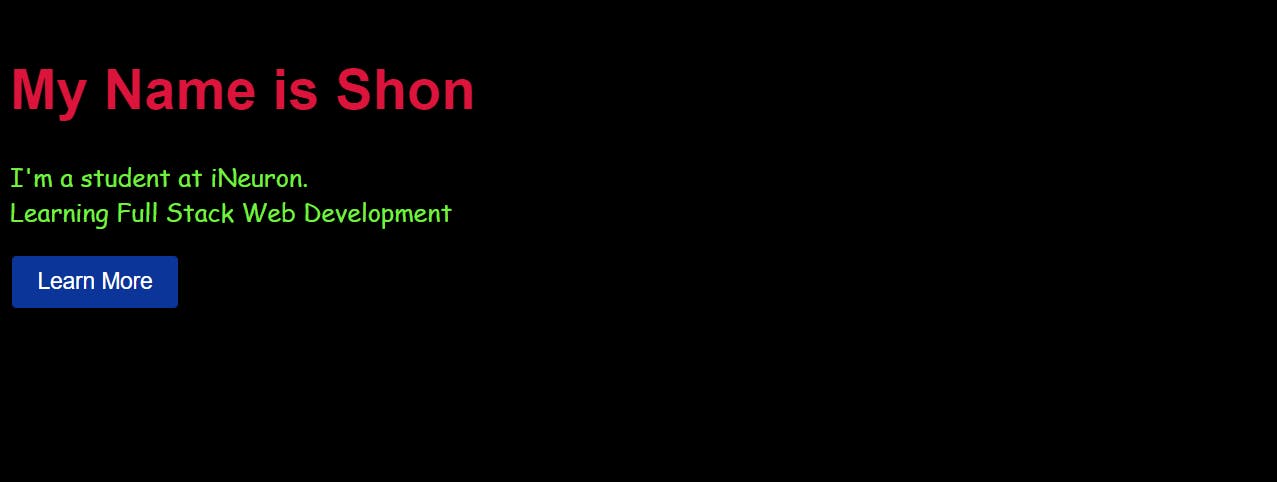
It selects the individual elements to apply the style separately.
Syntax:
element { style properties }
CSS:
    h1 {
        color: #dc143c;
        font-size: 45px;
        font-family: sans-serif;
      }
     p {
        color: #78ee42;
        font-size: 20px;
        font-family: cursive;
      }
     button {
        padding: 10px 20px;
        font-size: 18px;
        border-radius: 5px;
        background-color: #0b3598;
      }
HTML
  <body>
    <h1>My Name is Shon</h1>
    <p>
      I'm a student at iNeuron. <br />
      Learning Full Stack Web Development
    </p>
    <button>Learn More</button>
  </body>
Output
Class Selectors
The Class selector selects HTML elements with a specific class attribute. To select elements with a specific class, write a dot followed by the class name.
Syntax:
.classname {style properties}
CSS:
 .warning{
        color: #dc143c;
        font-size: 25px;
        padding: 5px;
      }
Here, .warning selects any element that has class = "warning"
HTML
<ul>
        <li>Item1</li>
        <li class="warning">Item2</li>
        <li>Item3</li>
        <li>Item4</li>
        <li>Item5</li>
    </ul>
Output

Id Selectors
Selects an element based on the value of its id attribute. The value of id should be unique in a document.
Syntax:
#idValue {style properties}
CSS
#img {
width: 350px
}
Here, #img selects the element that has id = "image"
HTML
<img id="img" src="./article.jpg" alt="image">
Output

Chained Selectors
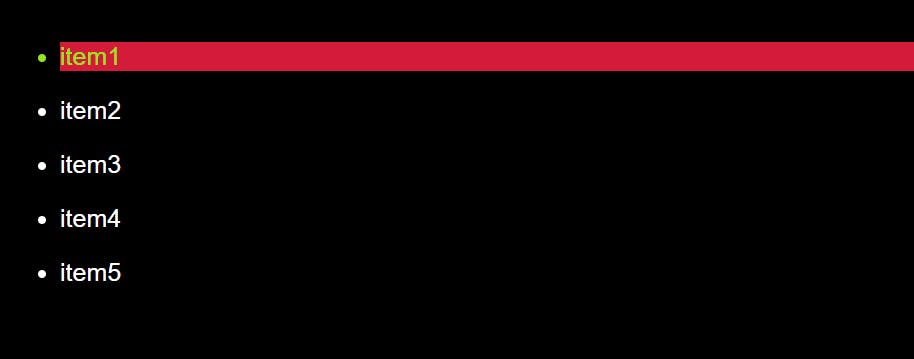
This selects all the elements with both class names within its class attribute. Here both the class names are written without a space in between
Syntax:
.classname1.classname2 {style properties}
CSS
     .bg-red.text-green {
        background-color: #d41b3a;
        color: #93e91c;
      }
HTML
  <ul>
        <li class="bg-red text-green">item1</li>
        <li class="bg-red">item2</li>
        <li>item3</li>
        <li>item4</li>
        <li>item5</li>
    </ul>
output
Combinator
There are four different combinators in CSS
- Descendant combinator
- Child Combinator
General Sibling Combinator
Adjascent Combinator
Descendant combinator
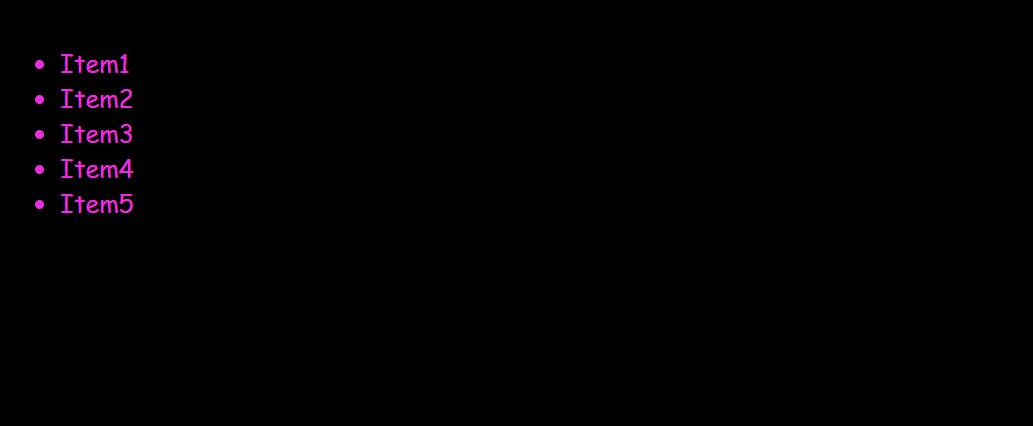
The descendant selectors can be any selectors having white-space in between the elements or class names without any combinators. It is used to select the child elements of the specified tag
Syntax
selector1 selector2 selector3 {style properties}
CSS
  div ul li{
        font-size: 20px;
        color: #ec2edf;
        font-family: cursive;
        text-transform: capitalize;
      }
}
HTML
    <div>
        <ul>
            <li>item1</li>
            <li>item2</li>
            <li>item3</li>
            <li>item4</li>
            <li>item5</li>
          </ul>
    </div>
Output
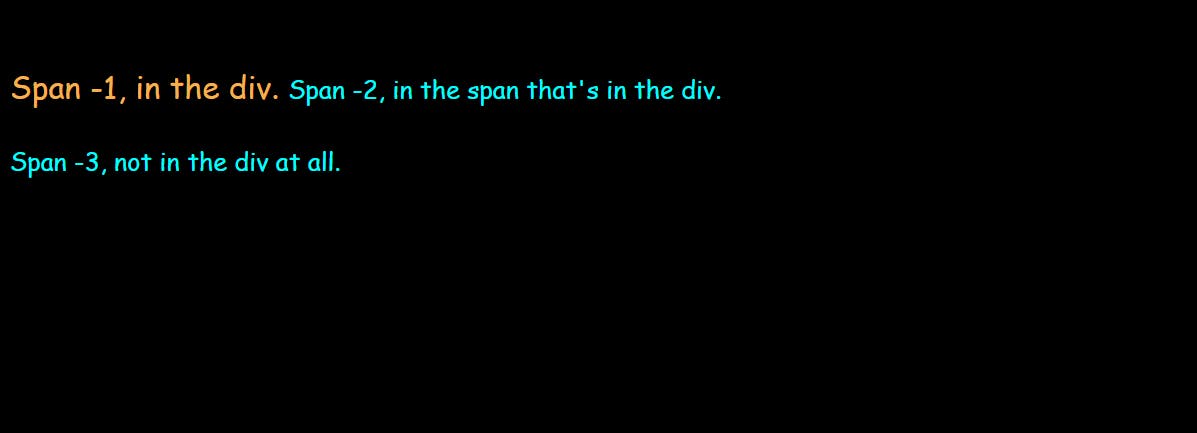
Child Combinator (Direct Child)
The child selector selects all elements that are the children of a specified element.
In the following example, the selector div>span selects only the direct child of the <div> element which is span-1 and it ignores span-2 which is its grandchild, and also ignores span-3 which is outside the <div>.
Syntax
selector1 > selector2 {style properties}
Here elements matched by the second selector must be the immediate children of the elements matched by the first selector
   span {
        color: #00ffff;
        font-size: 20px;
    }

    div > span {
        color:#f5b04f;
        font-size: 25px;
    }
HTML
<div>
        <span>Span -1, in the div.
          <span>Span -2, in the span that's in the div.</span>
        </span>
 </div>
 <span>Span -3, not in the div at all.</span>
Output
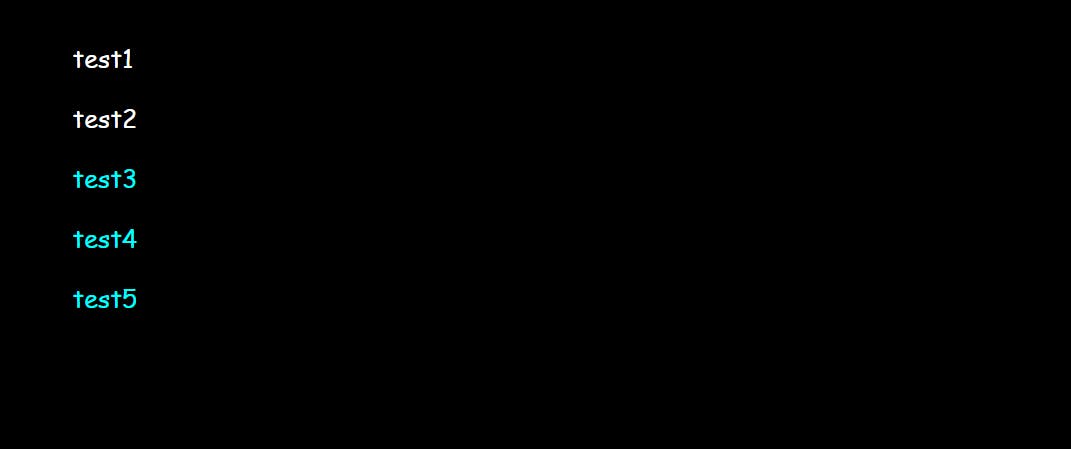
General Sibling Selector
The general sibling selector selects all the elements that are the next sibling of a specified element. In the following example, the selector targets all the <p> elements that come after the element with the class name sibling.
Syntax
former- element ~ target- element {style properties}
CSS
 .sibling ~ p{
        color: #00ffff;
    }
HTML
    <section>
        <p>test1</p>
        <p class="sibling">test2</p>
        <p>test3</p>
        <p>test4</p>
        <p>test5</p>
    </section>
Output
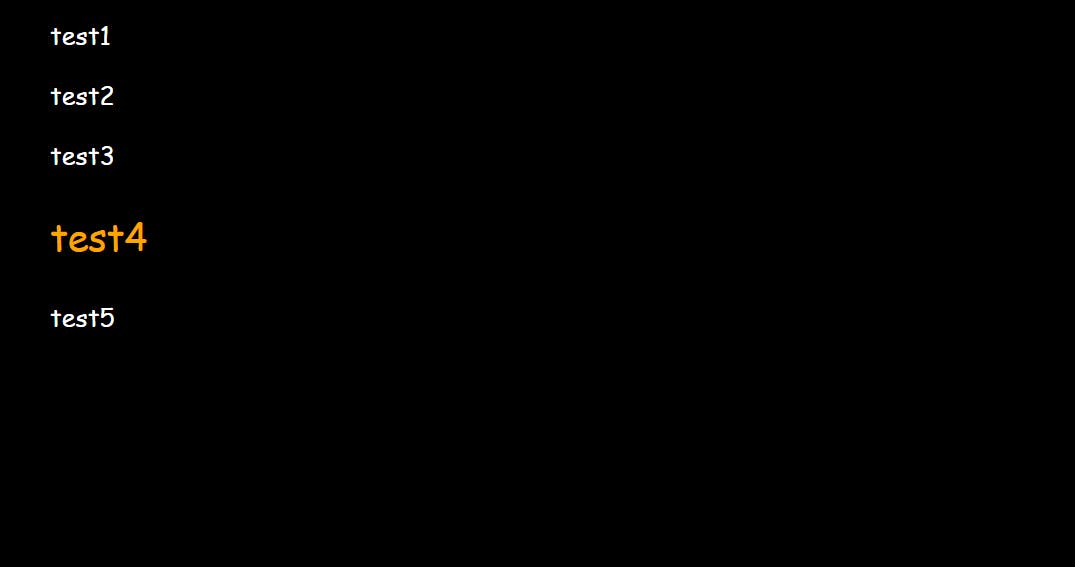
Adjacent Sibling Selector (+)
Adjacent means immediately following. The adjacent sibling selector targets an element that is directly after the specific element. The sibling element must have the same parent element. The following example selects the first <p> element that is placed immediately after the element with the class name sibling
Syntax
former-element + target-element { style properties }
CSS
.sibling + p{
        color:#ffa500;
        font-size: 30px;
    }
HTML
    <section>
        <p>test1</p>
        <p>test2</p>
        <p class="sibling">test3</p>
        <p>test4</p>
        <p>test5</p>
    </section>
Output
Before Selector
The CSS:: before selector is used to insert content before the content of the selected element. In the below example, we are inserting text before the content of the <h1> element.
Syntax
selector :: before {style properties}
####CSS
h1::before{
    content: "Hello, ";
    color: #dc143c;
}
HTML
<h1>I'm Shon</h1>
Output

After Selector
The CSS:: after selector is used to insert content before the content of the selected element. In the below example, we are inserting a green dot after the content of the <h1> element.
Syntax
selector :: after {style properties}
CSS
h1::after{
    content: " ";
    width: 25px;
    height: 25px;
    border-radius: 50%;
    background-color: #7fff00;
    display: inline-block;
    margin-left: 10px;
}
HTML
<h1>Thank you</h1>
Output

Reference:
MDN Docs
W3 Schools
Live classes @ iNeuron